

The Developer API is only available to native Upstash accounts. Accounts created via third-party platforms like Vercel or Fly.io are not supported.
Create an API key
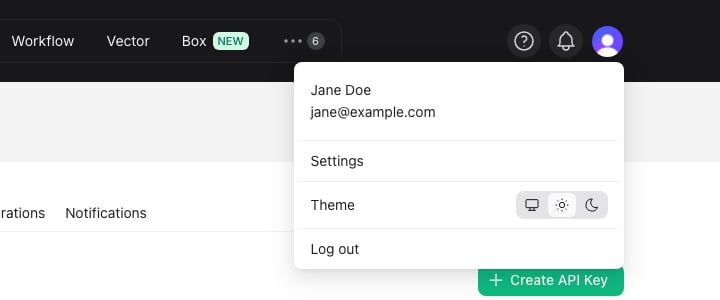
- Log in to the console, click your profile icon at the top right corner and
select
Settings.
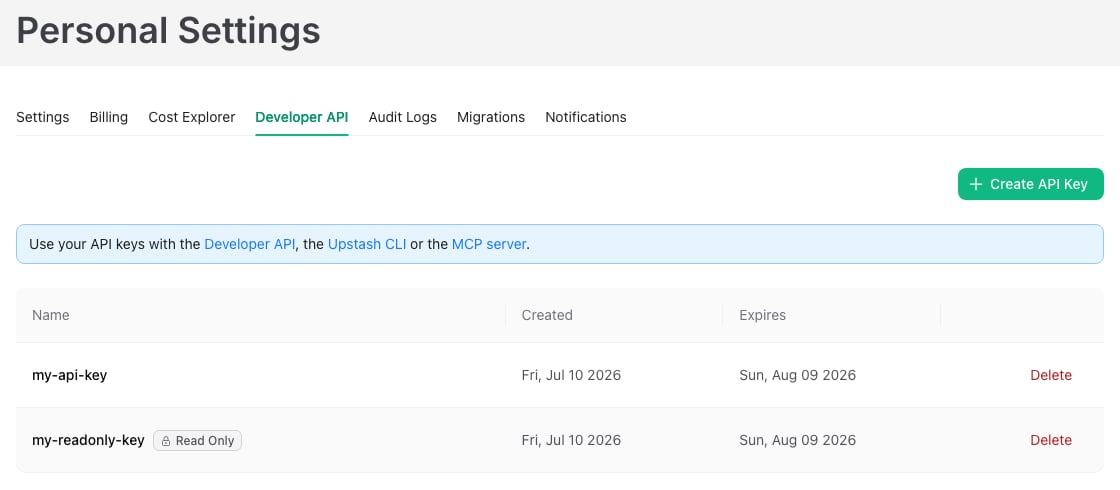
- Switch to the
Developer APItab and click theCreate API Keybutton.
- Enter a name for your key, pick its permissions and expiration, then submit. You cannot use the same name for multiple keys.
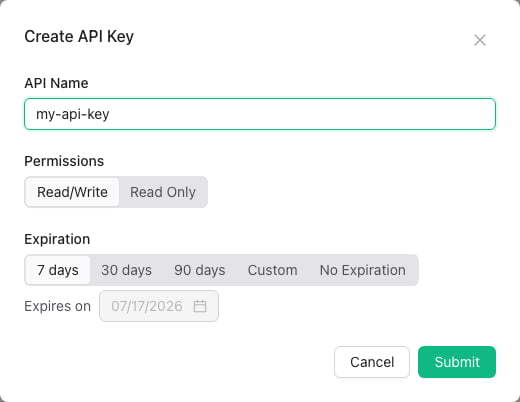
Read/Write key can use every API endpoint. A Read Only key can list and
inspect your resources but cannot change them, which makes it a good fit for
monitoring scripts and AI agents. Read-only keys are marked with a Read Only
tag in the key list.
Keys can expire after 7, 30 or 90 days, on a custom date, or never. Choose an
expiring key when you can. The console warns you when a key expires within a
week, and an expired key stops working until you replace it with a new one.
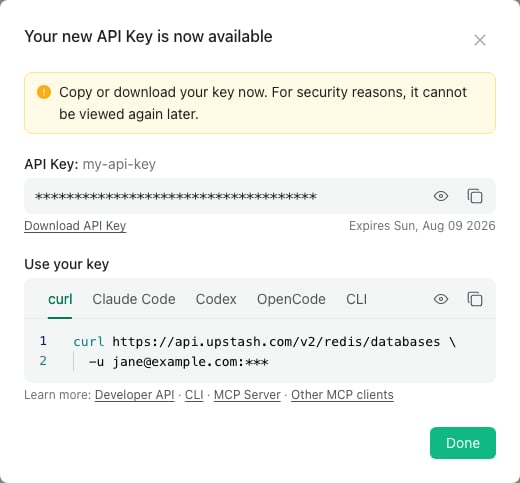
You can create multiple keys. It is recommended to use different keys in different applications. By default one user can create up to 37 API keys. If you need more than that, please send us an email at support@upstash.com
Team API keys
An API key belongs to the account it was created in. If you switch the console to a team and create a key there, the key belongs to that team and operates on the team’s resources. Authentication works the same way: pass your own account email as the username, not the team id. Every member of the team can use the same team key, each with their own email.Members with the
Readonly team role can only perform read operations through
the API, even when using a Read/Write team key.Using your API key
The API uses HTTP Basic authentication: pass your account email as the username and the API key as the password. See Authentication for details.Deleting an API key
When an API key is exposed (e.g. accidentally shared in a public repository) or not being used anymore, you should delete it. You can delete API keys on the samePersonal Settings > Developer API
page.